A fabric bulletin board DIY and Vlog Episode 3
Another week of progress means another vlog! Time has been flying by and although it's been an adjustment, I'm feeling really good about my decision to begin documenting my life through video. It's the first of many steps towards a new future, and while the path may present obstacles and detours, I'll continue to forge on guided by intuition. I've realized over the past year that working towards a values-based goal, with a meaningful purpose is not only the best way to keep you feeling positive and energized, but it's crucial to overall happiness and well being. It's all too easy to take the path of least resistance after we've expended our energy just making it through each day--I'm definitely guilty of this. But our time here is short and the worst feeling you can have is regret. To my friends out there who feel stuck and uninspired--find what excites you and makes you feel alive, as small as it may be--and just do it.
Speaking of getting things done... the house is coming right along and if you're reading this on Wednesday, the master bathroom is in the middle of being ripped out (follow me on snapchat @jennasuedesign for real time action!). That will be part of next week's vlog, but for Episode 3, I managed to include some fun time lapse tutorials of my "DIY plain to paneled door", as well as installing a fabric covered bulletin board backsplash for the new command center. Click on either image to watch the vlog on YouTube:


This episode is slightly longer and more fast paced than last week so let me know what you think!
I thought it'd be helpful to elaborate more on the fabric bulletin board. When planning this space I knew I wanted something beyond a typical drywall backsplash. It had to be easy and inexpensive--bonus points for functionality.
Then I found these Vaggis noticeboards at Ikea:

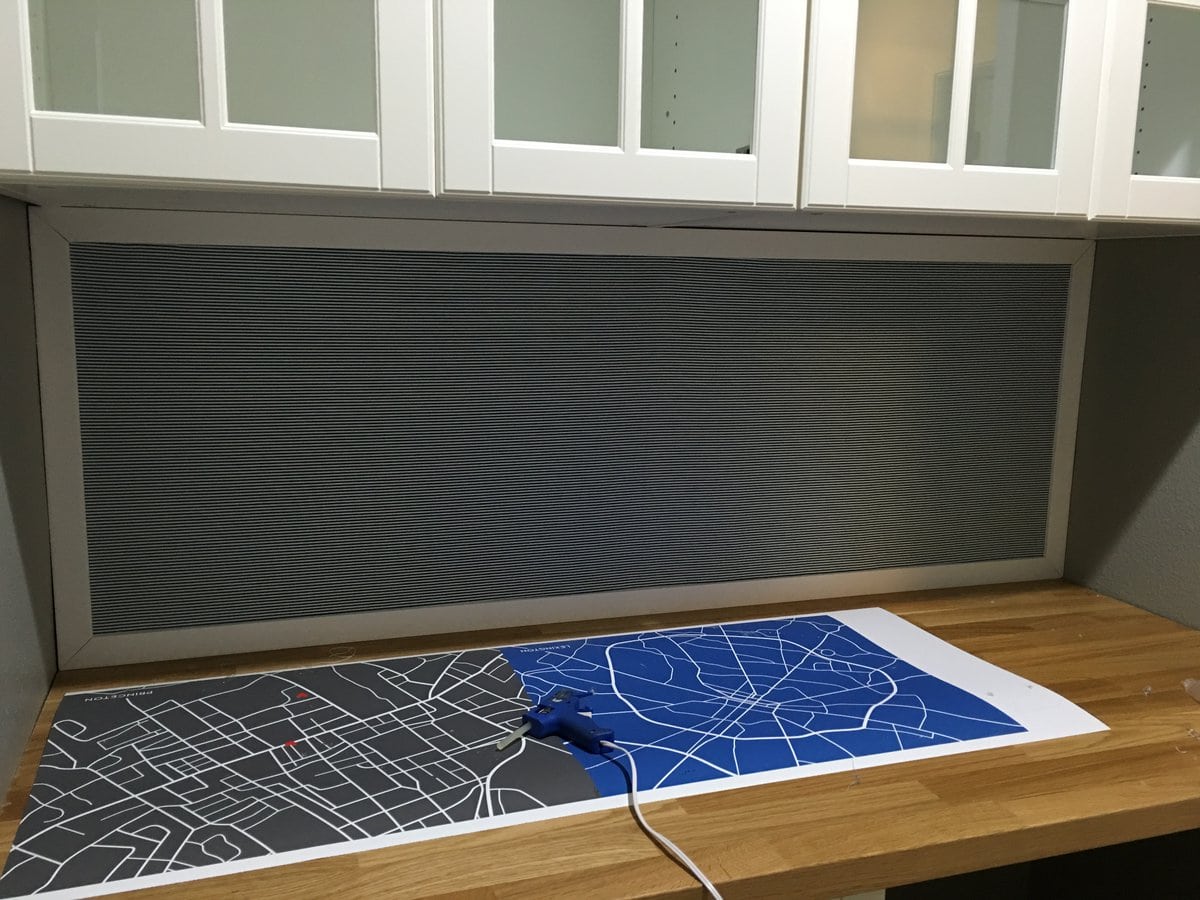
At $6/ea, they were a great economical option and it just so happened that four of them in a row filled the empty space almost perfectly. I removed the white frame around the edges and had my handyman cut an opening for the outlet:


I had planned on framing the edges for a clean look, but realized I didn't love the look of the brown or the visible seams. Painting them was taken into consideration, but then I remembered I had stacks of leftover fabric from various projects, and this would be the perfect opportunity to put them to good use.
One remnant leftover from my upholstered kitchen bench seats was just the right height, and I liked that the blue pinstripes added a touch of color while still remaining neutral.

After ironing the fabric and trimming it to size, I used spray adhesive to lightly adhere it to the corkboard surface (you can see this process in the vlog). Then I bought a strip of lattice, mitered the edges, and secured them using hot glue (and a nail gun in a couple places).
A $25 functional backsplash and simple afternoon project!

I can't wait to stage this space for the house sale.
While at Lowe's I bought a few boxes of ceramic floor tile which is also most likely being right now installed as you read this. A beadboard & coat hook wall is next on the to-do list, and then it will be a wrap after final accessories! Just in time to focus my attention on the last big makeover...

Most of my materials have arrived so now it's in the hands of my awesome crew to work their magic. I'll have to live in a dusty, noisy construction zone for the next month but I can already start to see the light at the end of this tunnel. And it's filled with soothing spa bliss.
Things are happening fast now, so make sure to keep up on facebook, instagram and snapchat (@jennasuedesign) so you don't miss out between the weekly blog/vlogs! And I hope your holiday weekend is filled with extra love <3

posted by Bailee Davion @ 5:21 AM
0 Comments
![]()


0 Comments:
Post a Comment
Subscribe to Post Comments [Atom]
<< Home